- Contact us now!
- +86 18868944843
- ken@nbthe.com
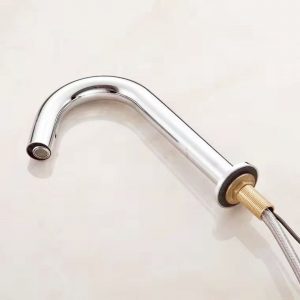
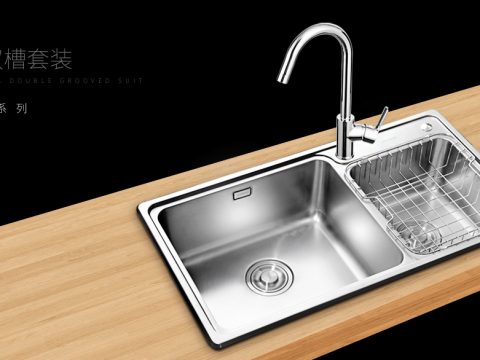
How to install a kitchen faucet
Installing a kitchen faucet may seem daunting, but with the right tools and following the steps below, you can do it yourself. Before you start, make sure to turn off the water supply to the existing faucet. Here’s a general guide to help you through the process:
Tools and Materials Needed:
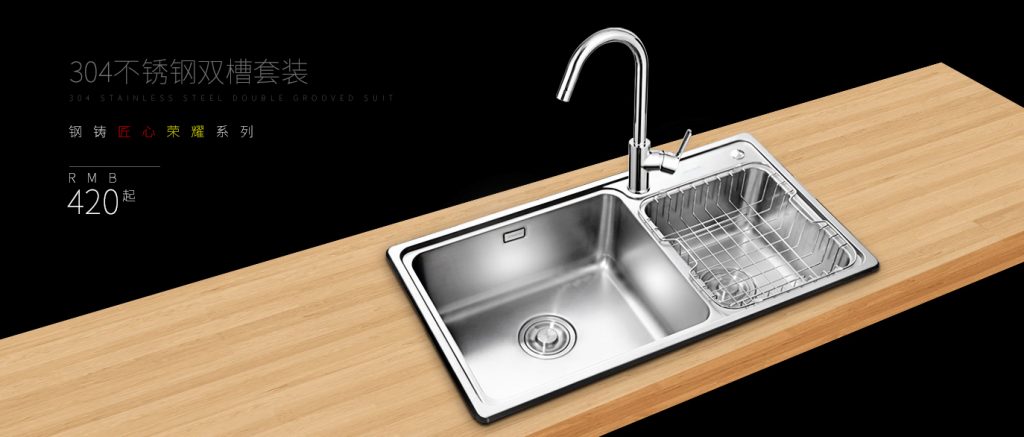
New kitchen faucet
Adjustable wrench
Basin wrench
Pliers
Screwdriver
Plumber’s putty or silicone sealant
Teflon tape
Towels or rags
Step-by-Step Installation:
Prepare the Work Area: Clear out everything from under the sink and place towels or rags to catch any water that may spill during the installation.
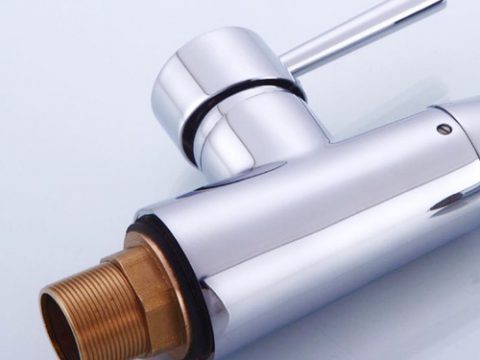
Remove the Old Faucet:
Disconnect the water supply lines: Use a wrench or pliers to loosen and disconnect the water supply lines from the valves located under the sink. Have a bucket ready to catch any water left in the lines.
Disconnect the sprayer (if applicable): If your old faucet has a separate sprayer, unscrew the nut connecting it to the faucet and remove the sprayer hose.
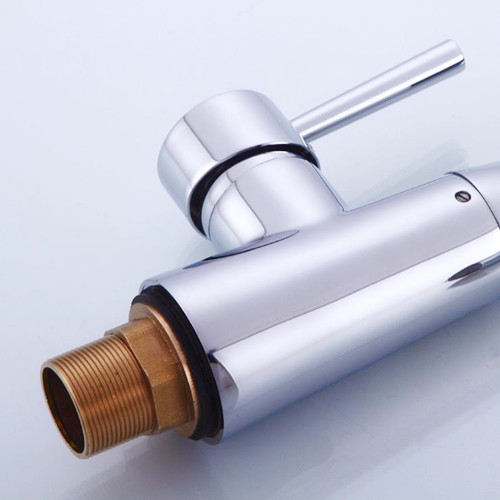
Remove the mounting nuts: Use a basin wrench to loosen and remove the mounting nuts that hold the old faucet in place.
Lift out the old faucet: Carefully lift the old faucet and any remaining components out of the sink.
Clean the Sink Area: Remove any debris or old sealant from the sink’s surface to ensure a clean and smooth installation for the new faucet.
Apply Plumber’s Putty or Silicone Sealant: If your new faucet requires a seal between the sink and the faucet base, apply plumber’s putty or silicone sealant around the base of the faucet. Follow the manufacturer’s instructions for the specific product you are using.
Install the New Faucet:
Insert the faucet into the mounting holes in the sink.
From under the sink, secure the faucet in place using the provided mounting nuts. Use a basin wrench to tighten the nuts securely.
Connect the Water Supply Lines:
Wrap Teflon tape around the threaded ends of the faucet’s water supply lines.
Connect the hot and cold water supply lines to the corresponding valves under the sink. Tighten the connections with a wrench.
Connect the Sprayer (if applicable):
If your new faucet has a separate sprayer, attach the sprayer hose to the faucet’s sprayer nipple and tighten the nut.
Check for Leaks: Turn on the water supply and check for any leaks around the connections. If you notice any leaks, tighten the connections as needed.
Flush the Faucet: Run the water for a few minutes to flush out any debris or air in the lines.
Congratulations! You have successfully installed your new kitchen faucet. Now you can enjoy using your upgraded kitchen fixture. If you’re unsure about any step or encounter specific challenges during the installation, don’t hesitate to seek assistance from a professional plumber.

