- Contact us now!
- +86 18868944843
- ken@nbthe.com
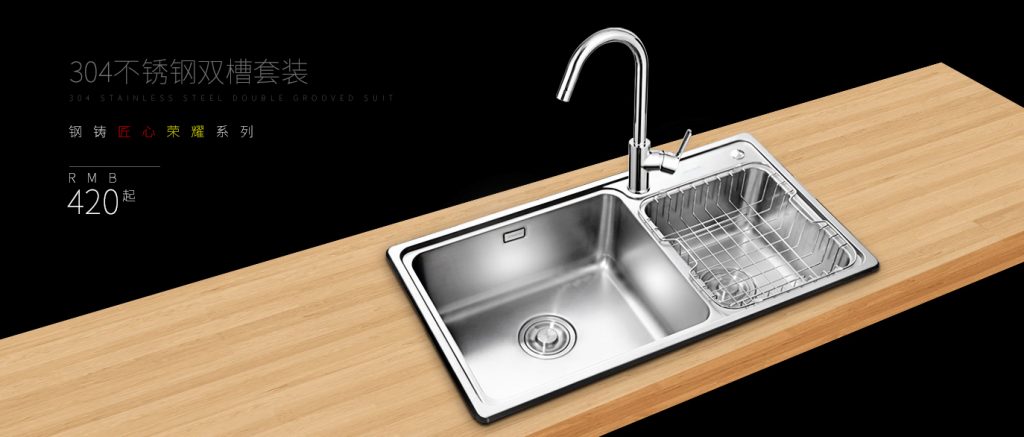
Diy installing a new faucet made simple

Before you begin: Make sure to turn off the water supply to the existing faucet by shutting off the water valves under the sink.
Tools and Materials Needed:
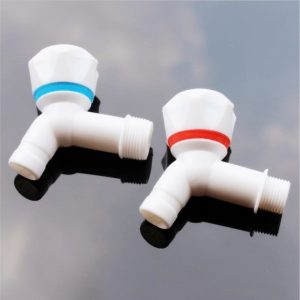
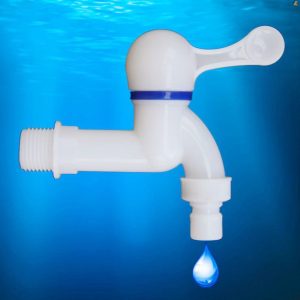
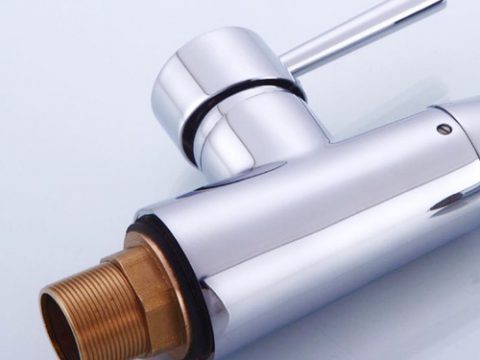
- New faucet
- Adjustable wrench
- Basin wrench (optional, but helpful)
- Phillips and flat-head screwdriver (depending on the faucet type)
- Plumbers tape (Teflon tape)
- Towel or bucket (to catch any water)
Step 1: Remove the Old Faucet
- Disconnect the water supply lines: Use an adjustable wrench to loosen and disconnect the water supply lines from the shutoff valves under the sink. Be prepared to catch any water that may drip out.
- Remove the old faucet: Depending on your faucet type, you may need to remove a nut or mounting hardware securing the faucet to the sink. Use an adjustable wrench or a basin wrench to loosen and remove these connections.
- Detach the faucet handles: If you have a double-handle faucet, unscrew or pry off the handles to expose the cartridges or stems beneath.
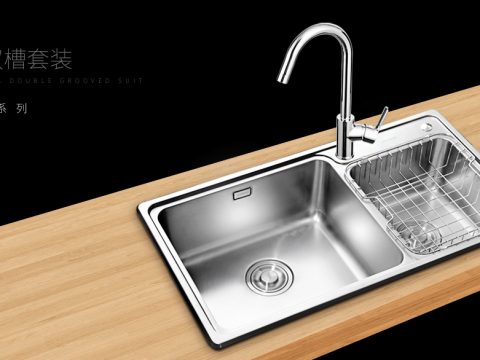
Step 2: Clean the Sink Surface Remove any debris, old putty, or caulk from the sink surface where the new faucet will be installed. Ensure the area is clean and dry before proceeding.
Step 3: Install the New Faucet
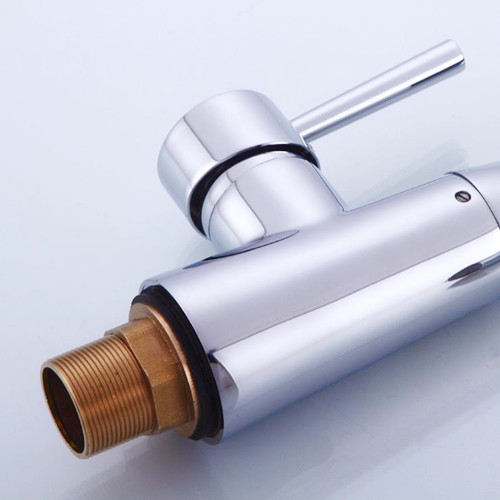
- Apply plumbers tape (Teflon tape) to the threaded connections of the faucet. This helps create a watertight seal and prevents leaks.
- Insert the faucet through the mounting holes in the sink.
- From beneath the sink, secure the faucet in place using the provided hardware. Follow the manufacturer’s instructions for tightening the nuts or brackets.
Step 4: Connect the Water Supply Lines
- Reconnect the water supply lines to the corresponding hot and cold water inlets on the new faucet. Hand-tighten the connections first, and then use an adjustable wrench to give them a quarter turn to ensure they are snug.
- Turn on the water supply by opening the shutoff valves under the sink. Check for any leaks around the water supply connections and tighten them if necessary.
Step 5: Test the Faucet Turn on the faucet to check for proper water flow and any potential leaks. Run both hot and cold water to ensure everything is working correctly.
Step 6: Reinstall Faucet Handles (if applicable) If you have a double-handle faucet, reattach the handles using the appropriate screws. Make sure the handles are aligned properly and function smoothly.
Step 7: Clean Up Clean up any debris or excess plumbers tape from the installation process. Wipe down the sink area to give it a clean and finished look.
Congratulations! You have successfully installed a new faucet in a simple and DIY-friendly manner. Enjoy your updated and fully functional kitchen or bathroom faucet! If you encounter any issues or have questions during the process, don’t hesitate to seek advice from a professional or refer to the manufacturer’s instructions.
